Changelog

Follow new updates and improvements to voiceaiwrapper.

VoiceAIWrapper for ChatGPT is published
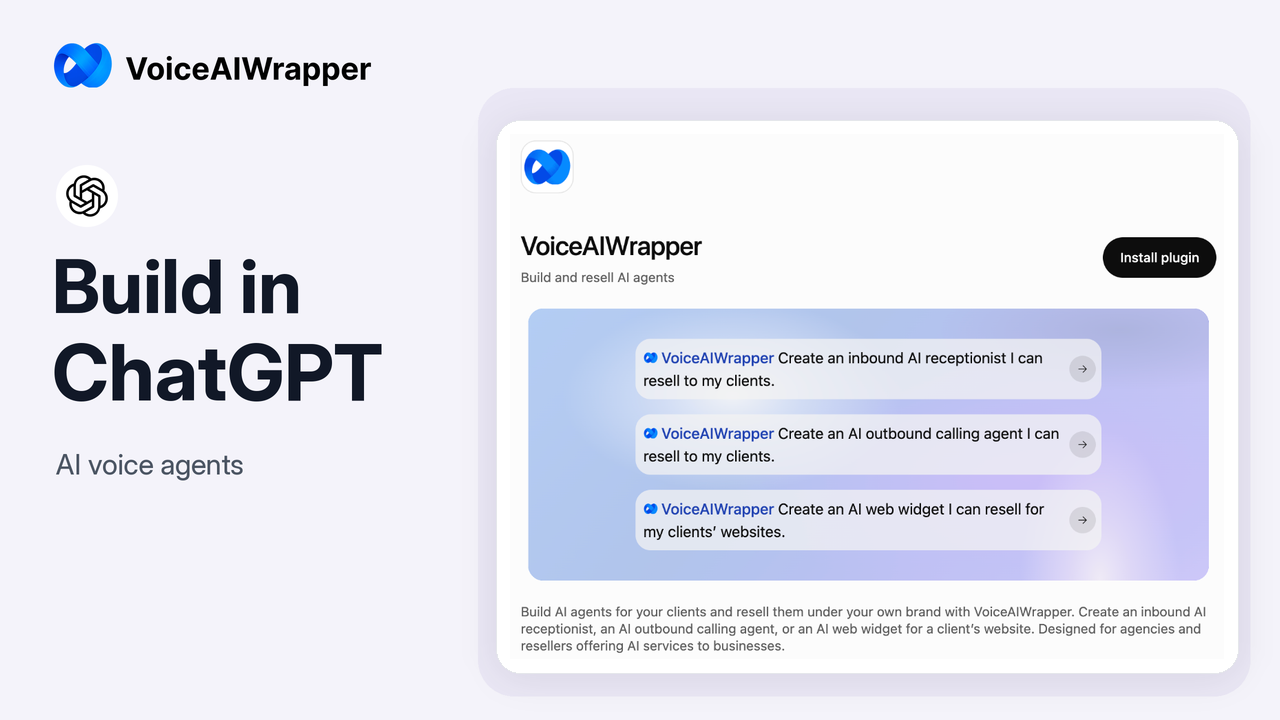
You can now create and manage AI voice agents through VoiceAIWrapper in ChatGPT. Connect your account, describe the business and explain what you want the agent to do. For agencies and resellers, it’s a conversational way to turn a client brief into an agent you can review and refine.

What you can do

  • Create agents for different jobs. Build an inbound AI receptionist, an outbound calling agent, or a website chatbot with voice and chat.

  • Review and refine an agent. Check its details and update its name, greeting, instructions or language.

  • Check what’s ready. Review build status and the setup still needed.

  • Set up website widgets. Create a voice/chat web widget for an agent or retrieve existing embed code.

  • Review recent calls. Ask for recent call summaries and outcomes from your connected organization.

How to start

  1. Open VoiceAIWrapper in ChatGPT and connect your VoiceAIWrapper account. If you’re new, sign up for VoiceAIWrapper first.

  2. Describe the business, the agent’s job and the information it needs.

  3. Review the generated agent, refine its greeting or instructions, and check the remaining setup before live use.

For example, you could start with this request:

Create an inbound receptionist for a fictional home-services company. It should answer business questions, take messages and collect the caller’s name. Ask me for the business details you need.

Example prompt, not a recorded build or proof of deployment.
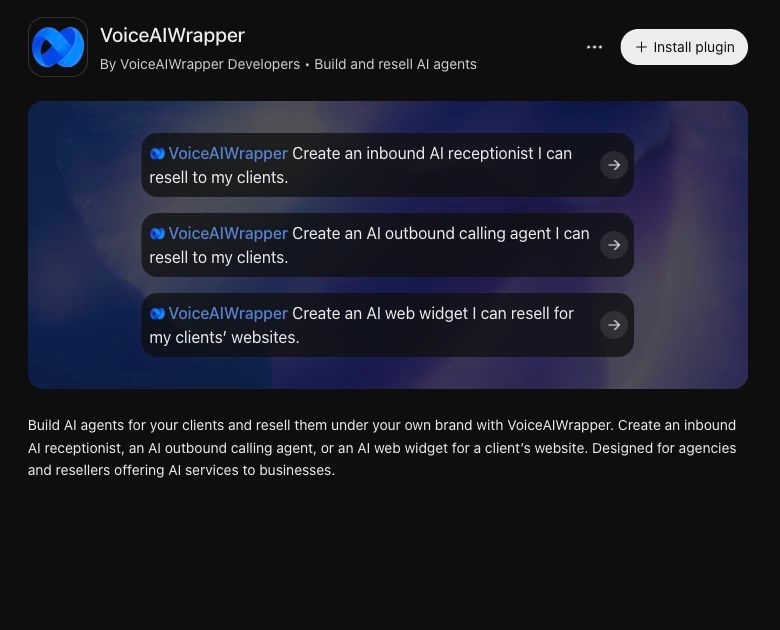
Actual VoiceAIWrapper ChatGPT listing with the Install plugin button and three starter prompts.

The public listing includes starting points for inbound receptionists, outbound agents and website widgets.

Before you go live

Creating an agent does not complete every deployment step. Check phone connections and credits where applicable; outbound agents also need campaign setup. Website widget availability depends on your account’s plan. Voice selection, buying or porting numbers, and broader setup may require the VoiceAIWrapper app. Normal platform and usage charges still apply.

The connection uses MCP, or Model Context Protocol, so ChatGPT can work with VoiceAIWrapper’s supported tools in your connected organization.

Ready to build your first agent? Open VoiceAIWrapper in ChatGPT.
New

Connect your own SIP trunk

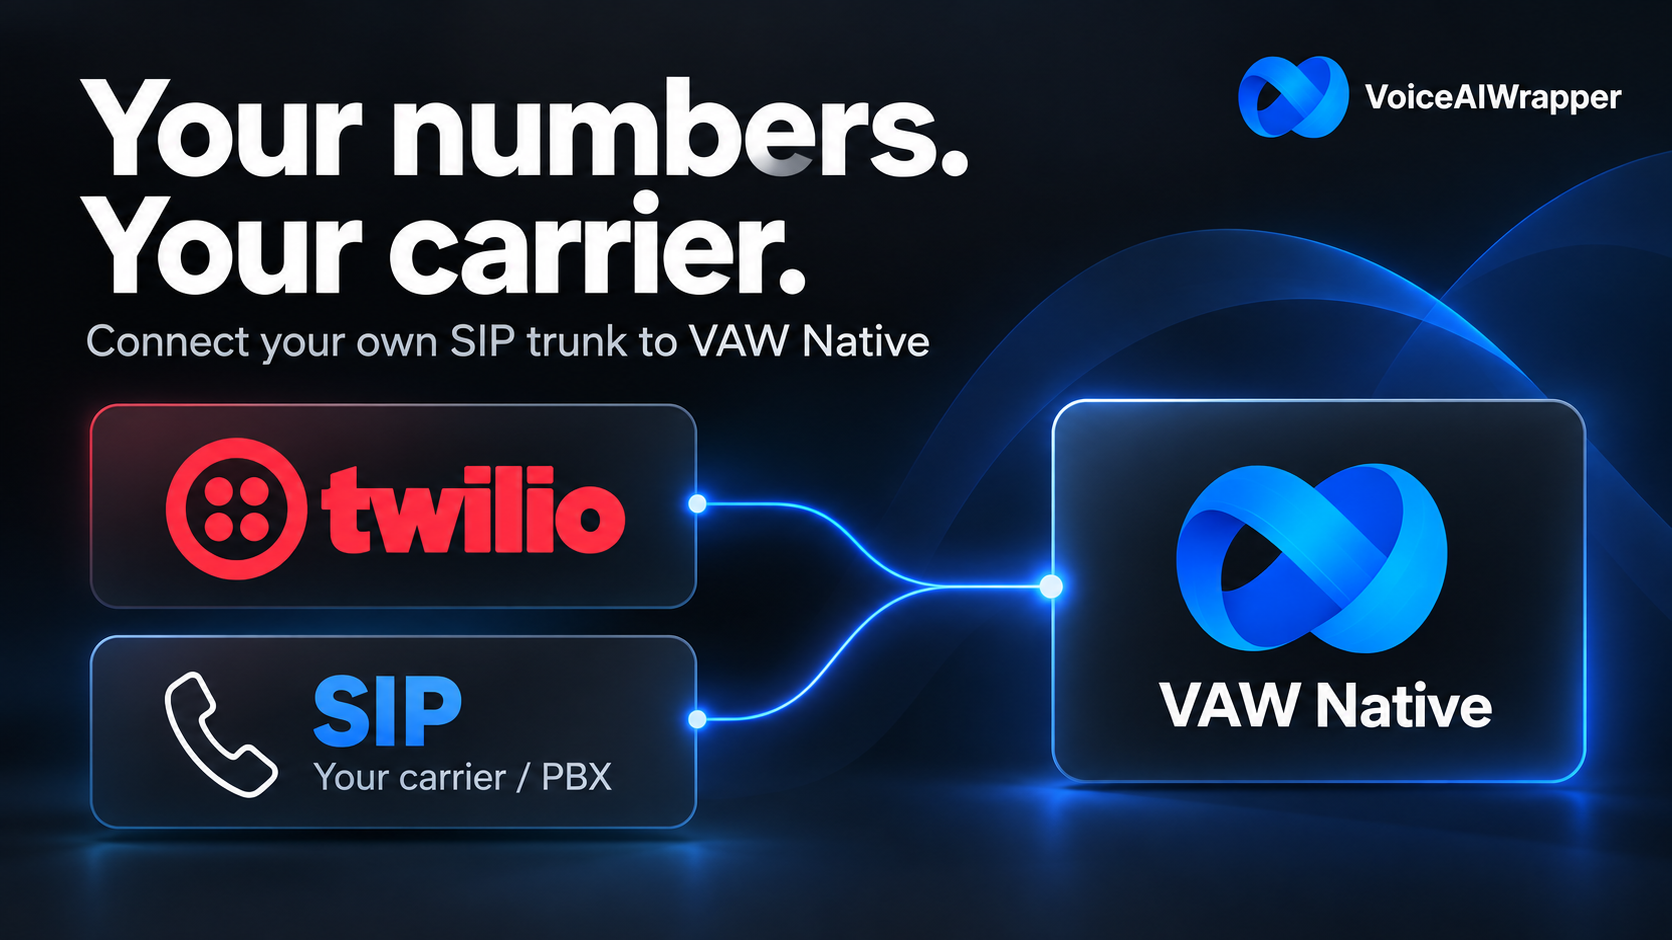
You can now connect your own SIP trunk to VAW Native, so your agents can answer and make calls on numbers from your existing carrier or phone system, alongside Twilio.

What's new

Bring your carrier or PBX. Connect a trunk from a provider such as Telnyx, or from your own phone system. Inbound calls, outbound calls, campaigns and transfers all work on its numbers.

How to set it up

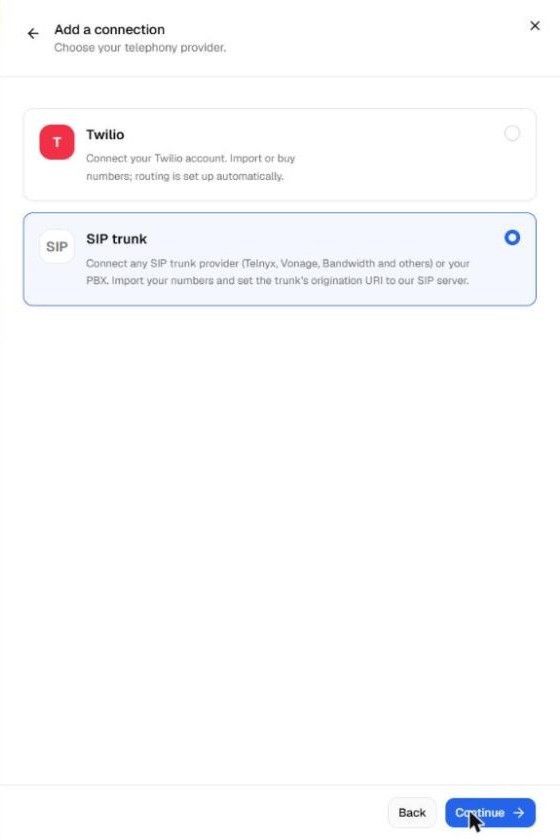
1. Go to Phone Numbers → Connected telephony accounts → Add a connection and choose SIP trunk.

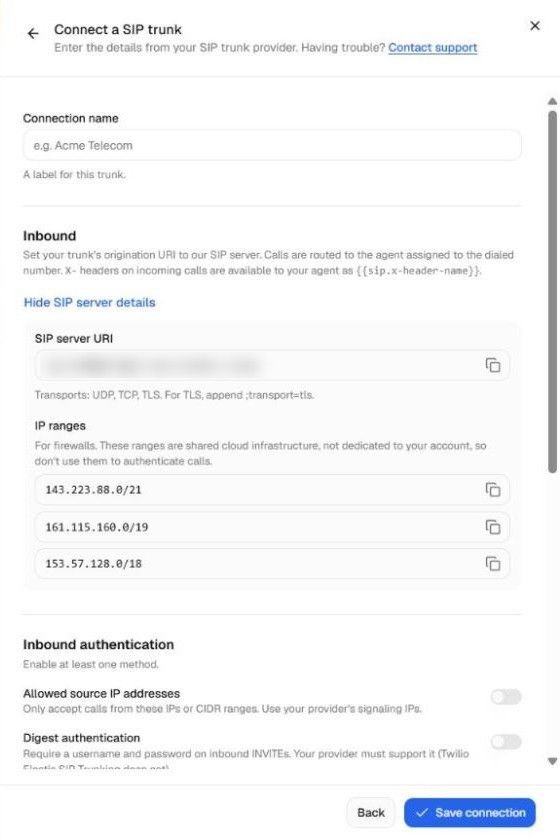
2. Copy the SIP server URI from the form and set it as the origination URI in your provider's portal.

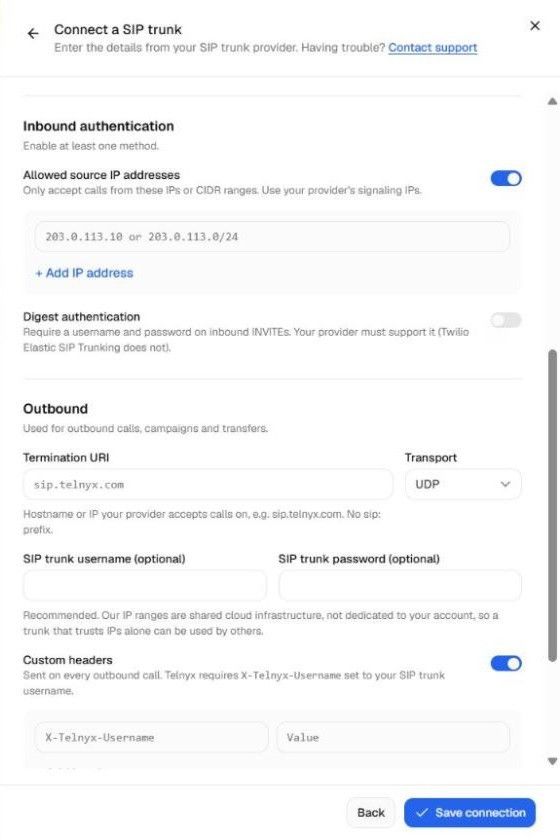
3. Add your provider's IP addresses, a username and password, or both, then the Termination URI your provider gives you for outbound calls. Save the connection.

4. Import your numbers onto the trunk and choose which agent answers each one.

Caller details for your agent. Details your phone system sends with a call, such as a customer ID, are available to your agent as sip.x-header-name and in your pre-call webhook.

For your clients. Client users can connect their own SIP trunk from the client portal.

Help when you need it. The Contact support link in the form opens a chat with our team.

New

Custom Client Dashboards: Show Clients What Their AI Agents Are Doing

Custom Client Dashboards are now in VoiceAIWrapper. Build a Voice AI dashboard around the calls, outcomes and trends your clients want to see, then show it in their workspace in place of the standard Dashboard page.

Start with a template or a blank layout, choose your metrics, and arrange the tiles to suit the client. Instead of walking through individual call logs, give clients a dashboard they can use to review their agents' activity.

What's new

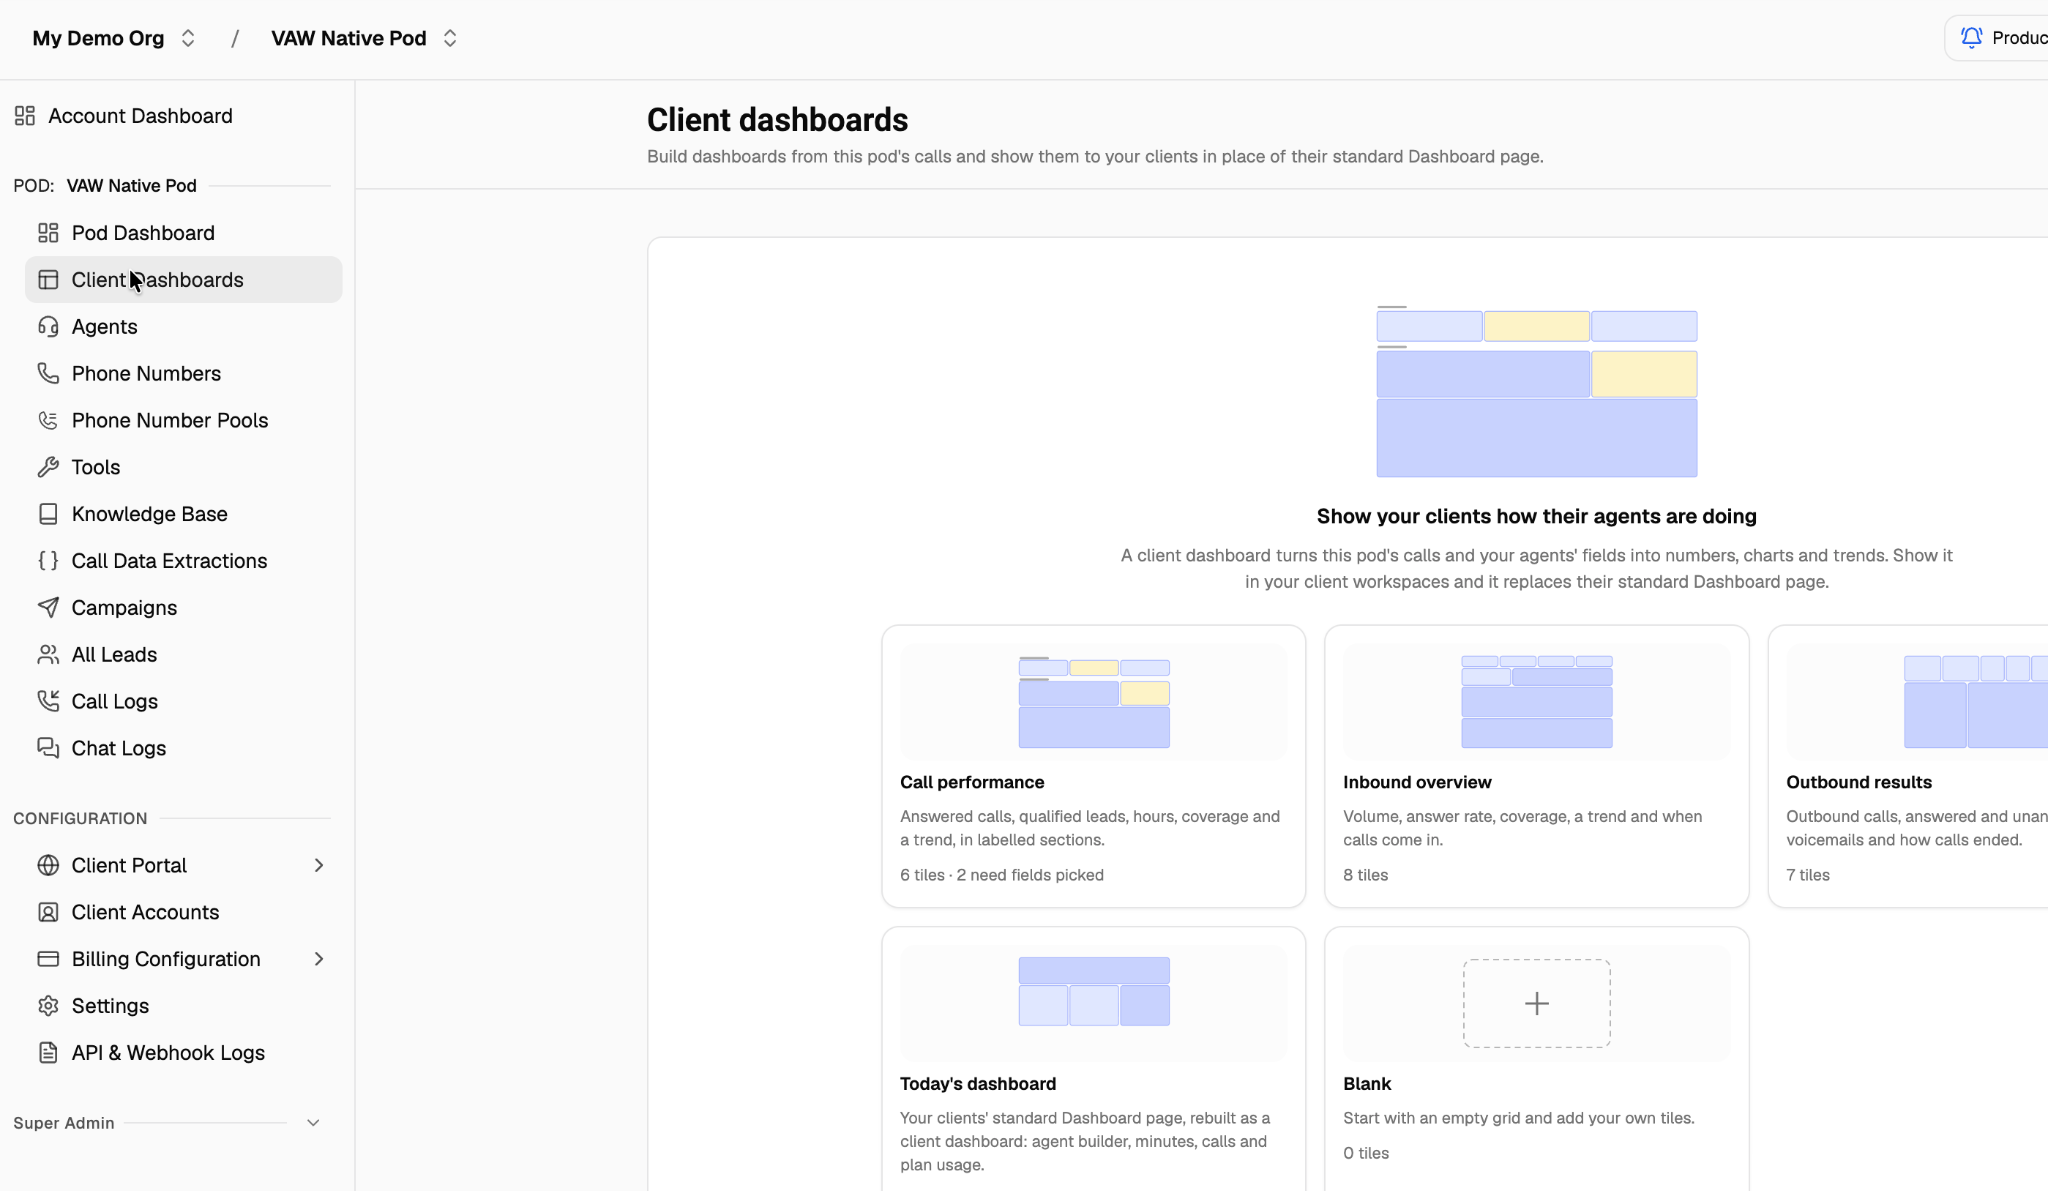
  • Ready-made starting points. Choose Call performance, Inbound overview, Outbound results or Today's dashboard, or start with a blank grid.

  • Metrics from calls and agent fields. Show call activity alongside field-based outcomes, such as qualified leads or booked appointments, using the fields you configure.

  • A layout you can tailor. Add tiles and arrange numbers, charts and trends into a view that fits the client.

  • Preview before sharing. Preview the dashboard with a client workspace, check the client view, then choose the workspaces where it should appear.

  • A client-facing dashboard. Clients see the assigned dashboard in their workspace, on desktop or mobile.

Get started

  1. Open your pod and select Client Dashboards.

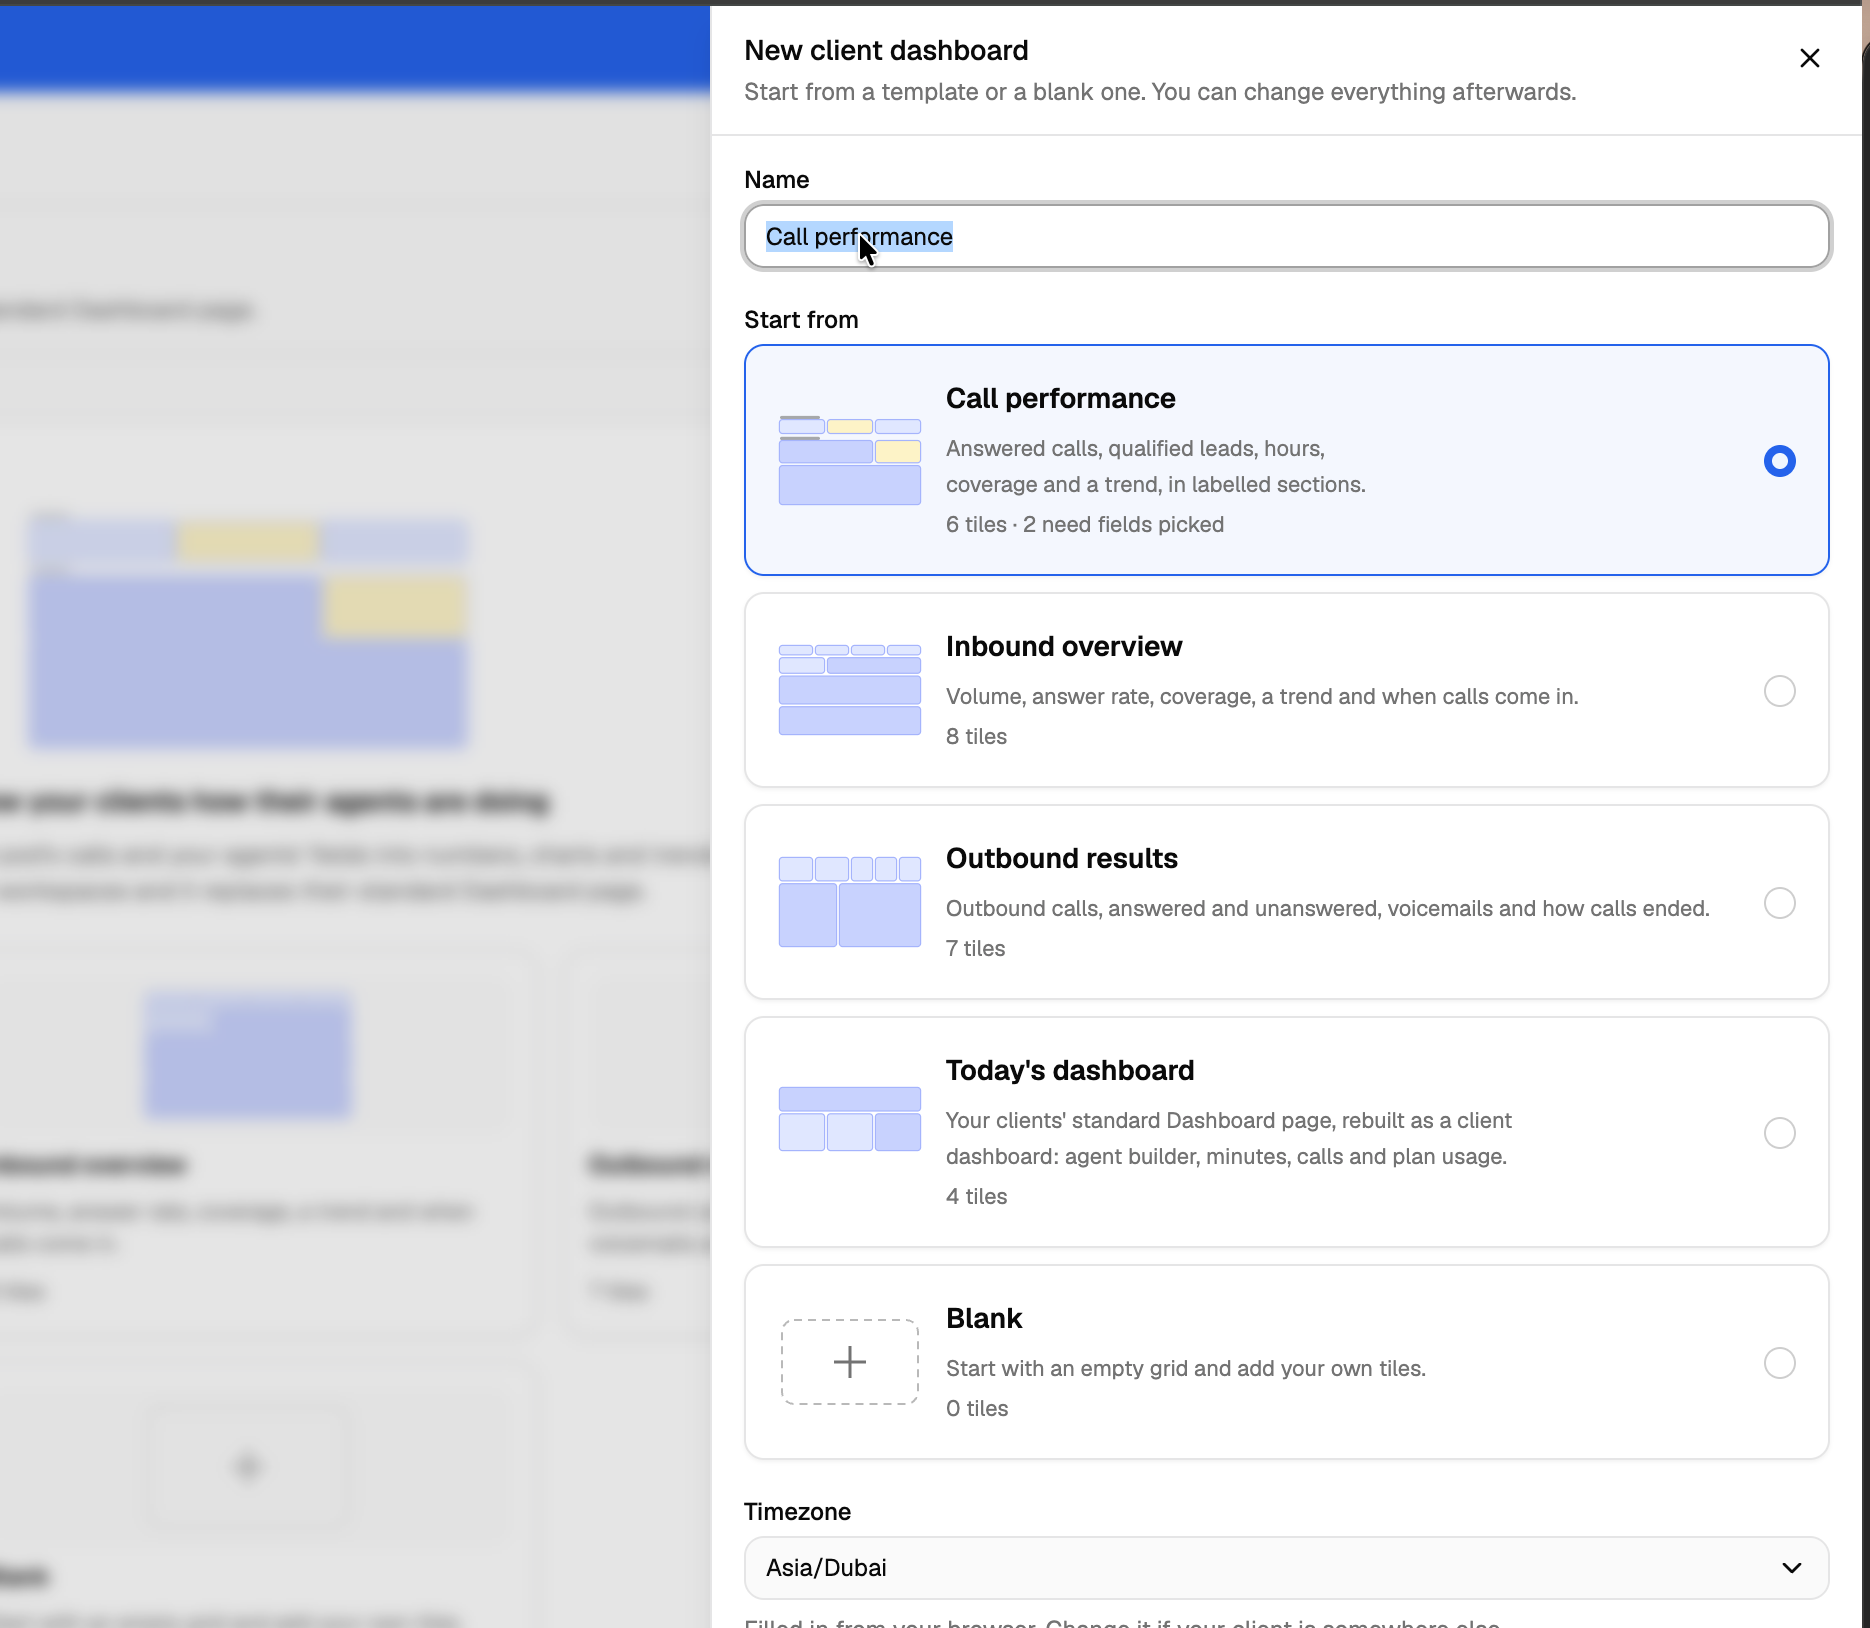
  2. Choose a template or Blank, name the dashboard, check the timezone and select Create client dashboard.

  3. Configure the fields required by your chosen tiles. Use Add tile to add metrics, arrange the layout and select Save.

  4. Use Preview with to select a client workspace and check Client view.

  5. Select Show in client workspaces, choose the relevant workspaces and confirm.

New client dashboard panel in VoiceAIWrapper, with Call performance selected, a dashboard name field and a timezone selector.
Name your dashboard, choose a starting layout and check the timezone before creating it.

Clients see the last saved version of the dashboard. Tiles that still need fields selected stay hidden from clients until configured.

Field-based metrics depend on the fields recorded on your calls. Check each tile's measurement coverage when reviewing the results; calls without a value for the selected fields are left out of those field-based calculations.

Custom Client Dashboards work with VAW Native, ElevenLabs, Retell and Vapi.

Watch the feature overview

See how to start from a template, configure and arrange dashboard tiles, preview the client view and show the dashboard in selected client workspaces.

Ready to set up your client view? Open Client Dashboards in your pod.

New

Earlier updates